[ad_1]
When my colleague Aimee Cook and I introduced this Emoji Design lesson from Verizon Innovative Learning HQ to our 13-year-old seventh graders in English class one morning, we got their typical reply: “Why?”
Smiling, we were ready with an answer: “How many of you use emojis when you communicate?”
Their hands shot up. ✋
We don’t just communicate with words anymore. Acknowledging this in English class is important. We challenged them with a couple of driving questions: “Are there any feelings that aren’t well represented with an emoji? Could you develop one for that feeling?” 🤔
All the Feels
There are so many feelings in middle school, which makes it the ideal environment for a lesson like this! Any parent of a teenager knows the truth in this. One minute they love you, the next they hate you. Then they love and hate you at the same time.
We decided to start with a colorful feeling wheel. Of course, one feeling wheel could never label every one of the feelings a typical middle school student experiences in one week (or sometimes in one day). We thought it was a good place to begin, though, so we projected our rainbow feeling wheel in front of the classroom and asked the students if they had ever seen one before.
“Yeah … I saw one in health class.”
“I saw one in my counselor’s office.”
What do they do?
“They show feelings.”
Just like emojis, right?
We gave everyone their own feeling wheel and asked them to choose a few feelings that they would like to explore some more. 😍 Then we gave them options. They could either answer some questions that would take them deeper into labeling feelings or they could begin sketching their ideas.
Playing With Pictures

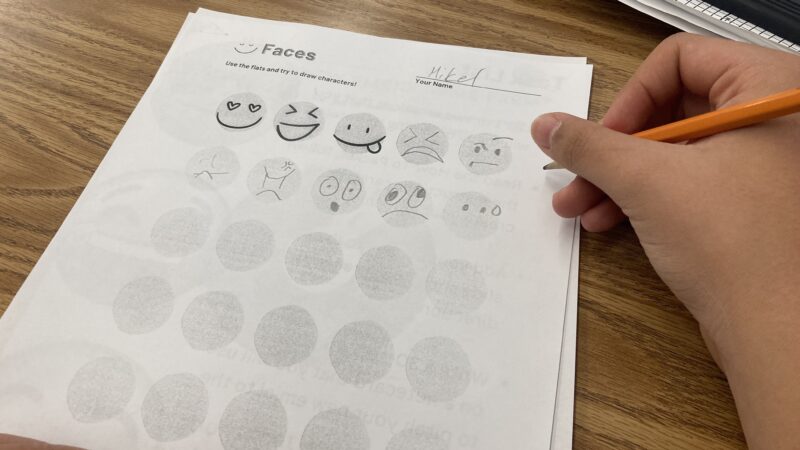
Most of our students wanted to sketch their way to an answer. We love this template.🔥 (It’s not part of the lesson, but it was a great extension!) We played some background music while everyone sketched their ideas. We circulated the room and asked open-ended questions like “Can you tell me about this one?” or “How does this sketch answer the driving questions?”
From Sketching to Designing
The next day we passed out the Learner Guide from the lesson. The guide is everything. Aimee and I aren’t graphic designers, but we are pretty good at coaching and cheering! 📣 With the guide in front of them, that is all they needed to get started.
Aimee and I circled the class encouragingly with our squeals of delight.
That is so creative!
How in the world did you think of that?!
I love those accessories.
When we called each other over to check out this or that emoji, we noticed that our young designers sat a bit taller.
Our students were designing like pros in no time at all using a resource like Vectr, a very user-friendly site (thank goodness!). Watching them collaborate to come up with ridiculously creative designs that we couldn’t even have imagined was all that our teacher hearts could ask for! 🤗
Check Out Their Work!

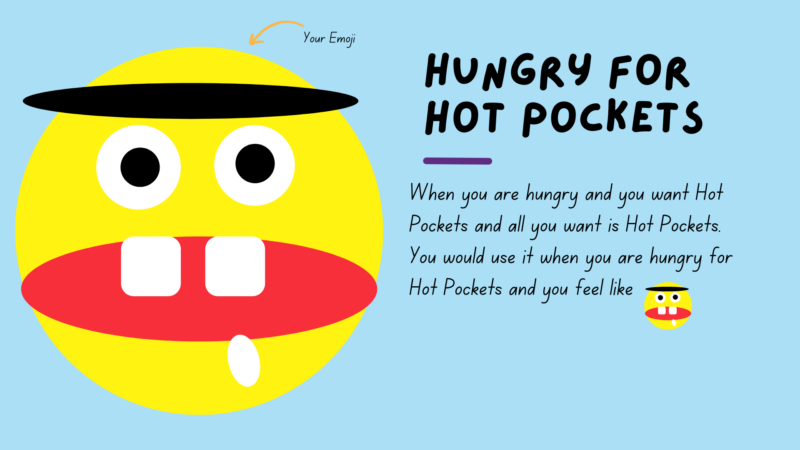
If you teach middle school, you know about Hot Pocket Life.

The emoji we’ve been waiting for.

I would use this one all the time!
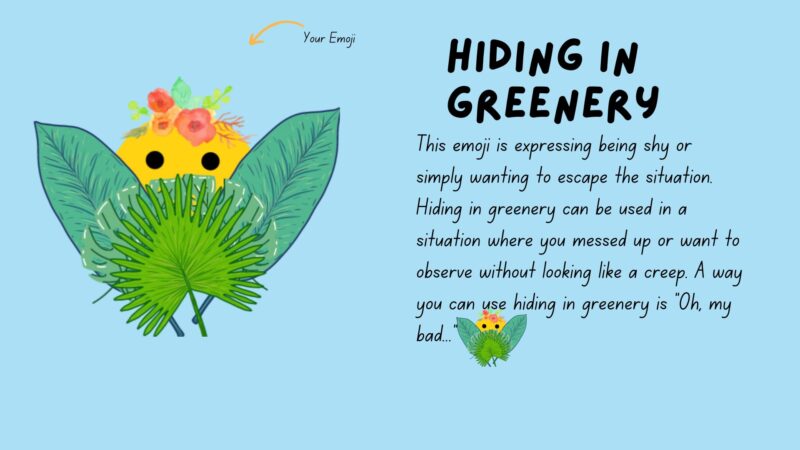
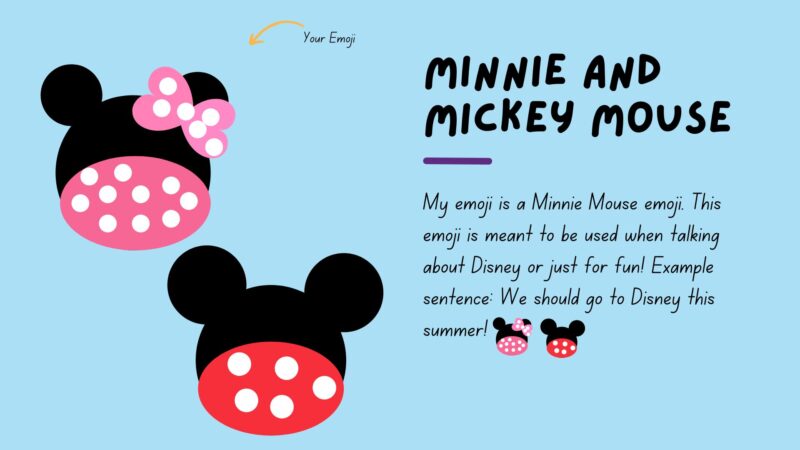
We had them add their emoji design to a slideshow template and include a few sentences explaining their emoji. Scrolling through that slideshow was straight-up captivating. The kids gave the lesson two thumbs up. By the time the bell rang, some of our students had already started their next emoji design. We are already geeking out thinking about how to use this lesson next year! 🤓
Want to try this emoji lesson with your students? Grab the free lesson (and check out all the STEM lessons available to you) at Verizon Innovative Learning HQ.
[ad_2]
Source link
